Support Overview

Tutorials

Usage Examples

Upgrade Information

FAQ

New Release History

You are here:   Visualware >   MyConnection Server >   Support >   Tutorials >   Branding test applet

Branding test applet

Step 1

Once you have created a custom test and published it to a web page you can add your own branding to the applet.

Click the VIEW PUBLISHED TESTS link in the TOOLS section of the MCS main menu.

Step 2

Click the create an Applet config file manually (advanced) link, as shown on the right.

Step 3

The published test you created earlier should be listed, similar to the image shown on the right. Click the modify link next to the appropriate test to continue.

Step 4

The next page allows you to change various options for different plug-ins. If the plugin you want to brand is compatible with branding then you will find the overlay image option in the settings, as shown on the right.

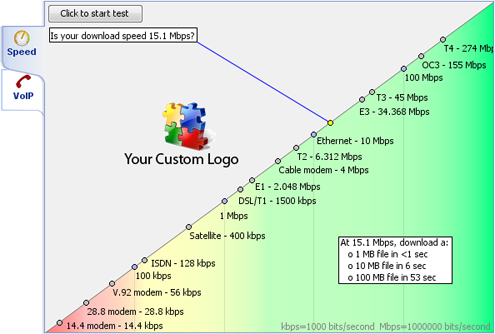
The way branding works is by image. Simply create a transparant image the same size as your applet (default 600x400). When that has been created add the text and/or imagery you want to the transparent image. The position it appears is defined by its position on the image.

NOTE: Enter the name of the image file that you want to use into the overlay for bandwidth test tab (or similar). This image now needs to be put into the /www directory of your MyConnection Server installation directory.


An example image is shown on the right. The image is set to 600x400 and the logo and text has been put over the top of it.

Step 5

Once the image has been created and saved to the correct location and the correct image name has been entered into the overlay image section then it should appear in your published page, similar to the example below:


MyConnection Server

Home
Online Testing Portal
Download
Purchase
Resources
Support

Visualware Products

VisualRoute
eMailTrackerPro
Visual IP Trace


© Visualware Inc. 2014 - All Rights Reserved