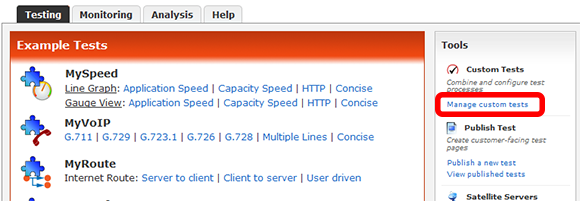
Click the MANAGE CUSTOM TESTS link in the MCS main menu. |
|
|
|
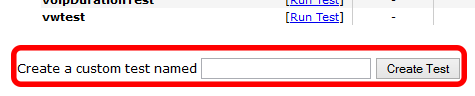
Step 2
Enter a name for the new test and click the CREATE TEST button. |
 |
|
|
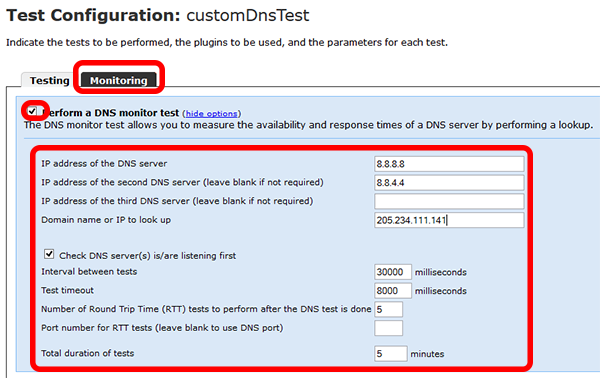
Step 3
Cick on the MONITORING TAB to view the list of monitoring test types.
Check the DNS MONITOR TEST option to expand the list of options.
Choose the settings required for the DNS test. In this example we're using Google's DNS servers to test against.
Click save test once complete. |
 |
|
|
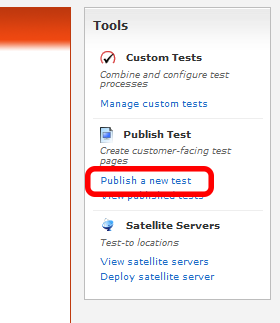
Step 4
Monitoring tests can ONLY be run in conjunction with a REMOTE AGENT.
To publish a remote agent click the PUBLISH A NEW TEST link under the TOOLS section of the MCS main menu.
|
 |
|
|
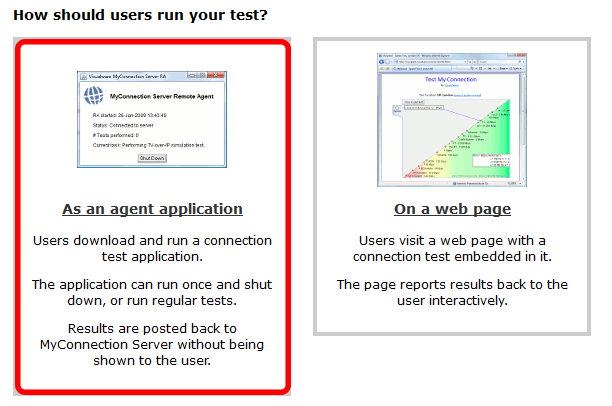
Step 5
Choose AS AN AGENT APPLICATION.
|
 |
|
|
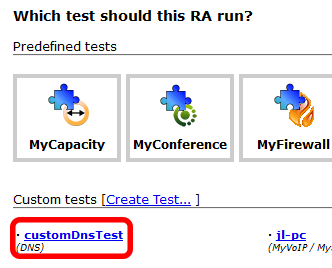
Step 6
Choose the CUSTOM TEST created in step 3.
|
 |
|
|
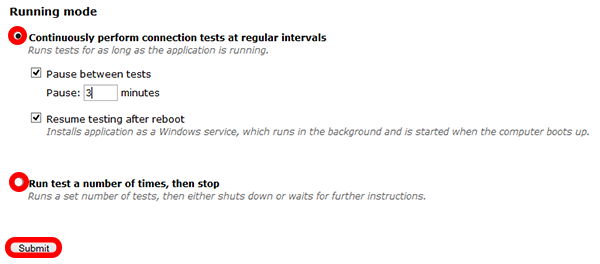
Step 7
There are two types of RUNNING MODE to choose from.
CONTINUOUS and RUN & STOP.
In this example we've chosen an agent that will continuously until stopped by the user or the MCS admin.
|
 |
|
|
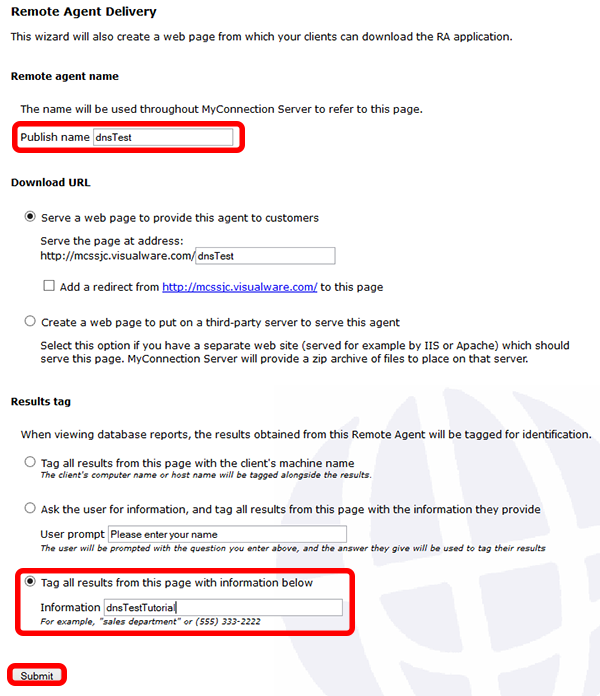
Step 8
Choose a name to PUBLISH THE TEST under.
This will just be used to identify the test in publish test list and also double as the link used to download the agent.
In this example we've also chosen to TAG ALL RESULTS with the same string: "dnsTestTutorial".
Click SUBMIT to publish.
|
 |
|
|
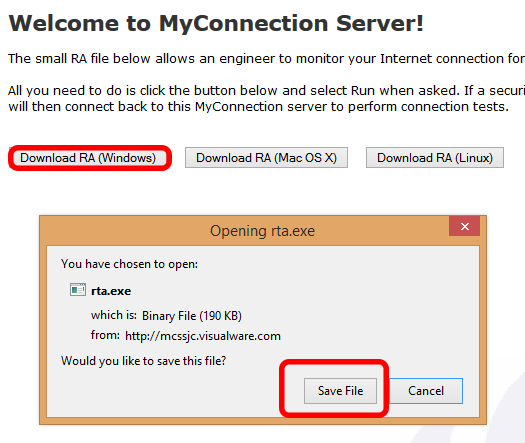
Step 9
The download agent screen will look like the one on the right.
In this example we're using Windows.
Dialogs may vary so choose the option that allows for saving to the hard drive. |
 |
|
|
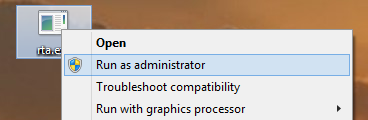
Step 10
Right click the RTA.EXE and choose Run As Administrator to install. |
 |
|
|
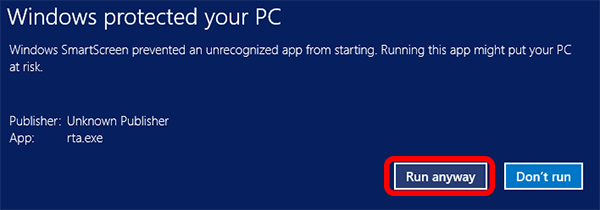
Step 11
In some Windows environments a warning may appear, as shown on the right.
The remote agent is 100% safe and will pose no threat to any computer.
To install succesfully first click the MORE INFO link and then the resulting RUN ANYWAY button. |

|
|
|
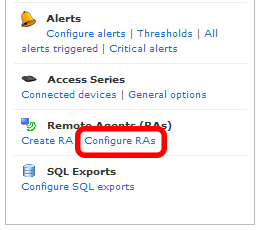
Step 12
This will install the remote agent in the background and start to run test DNS test chosen in step 3.
The easiest way to view results is to locate the REMOTE AGENT in the RA list in MCS, as shown on the right, and click the RESULTS link. |

|
|
|
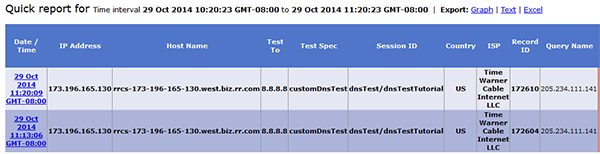
Step 13
This will show all results for that remote agent in the web table view. |

|
|